HOW TO PHOTOGRAPH THE MILKY WAY
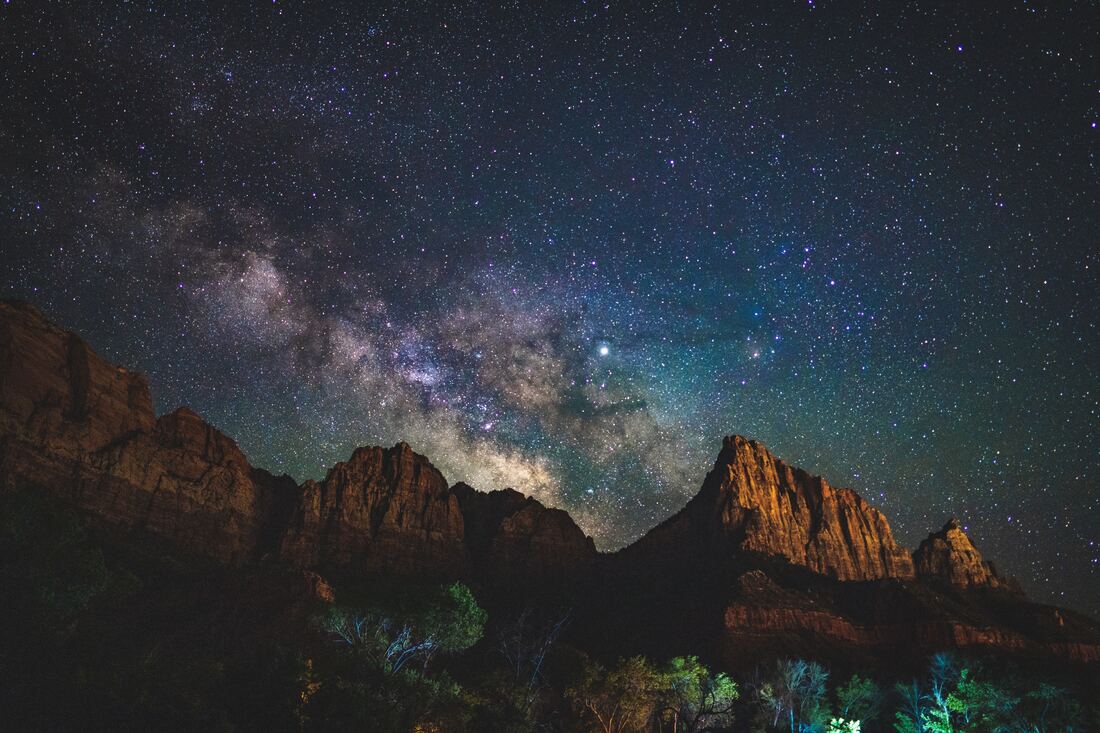
Since the beginning of human existence, the stars have peaked our interest. We make art about them, write poems and stories about them. We seek more knowledge about them and as photographers, we often want to capture their beauty. Photographing the night sky isn't as simple mounting your camera to a tripod and leaving your shutter open. Read below for the equipment you'll need and a few tips to get you started!
WHAT YOU'LL NEEDYou will of course need a camera to start. Full frame cameras are ideal but not a necessity. In addition, you will need a tripod to mount it on. I recommend something good and sturdy to decrease the chances of it moving or blowing over in windy conditions. Another way to eliminate camera shake is to use a remote shutter release (optional but suggested). Next is a wide angle lens with a maximum aperture of at least f/2.8. This allows you to shoot at a "lower" ISO which will help eliminate noise in your final photo.
A headlamp can be a useful addition to your night time photography supplies as it will allow you to see and keep your hands free to adjust your tripod, camera, etc. If you don't have a headlamp, a bright flashlight will also work. Other resources that will assist you in taking the best Milky Way photos possible are a Milky Way tracking app, a weather app for tracking cloud cover, and image averaging software such as Adobe Photoshop or Gimp. |
|
LOCATION AND CAMERA SETTINGS
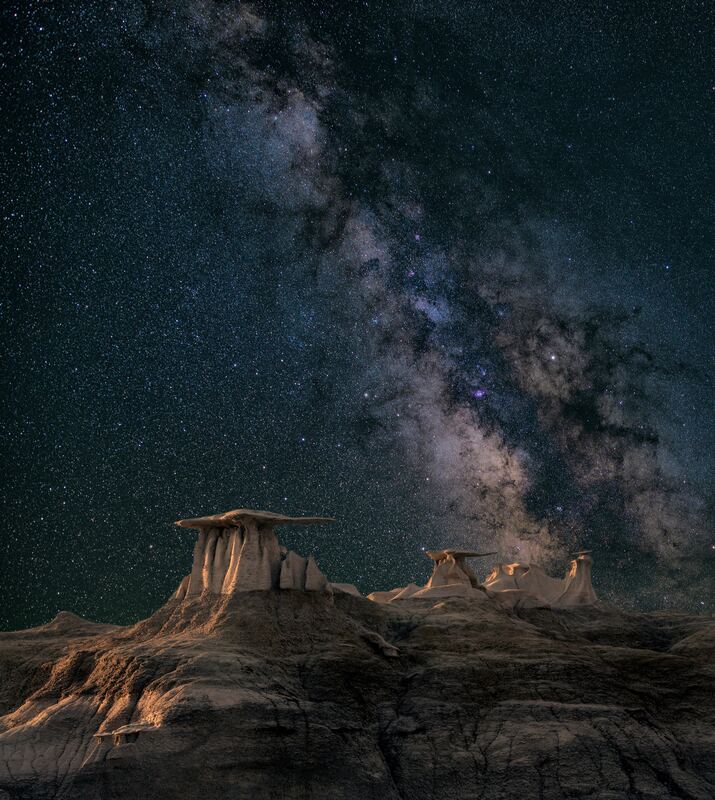
Other important factors that go into photographing the night sky are where you choose to shoot and the settings you use on your camera. Both of these things are crucial to capturing the Milky Way in all of its stellar glory.
There are a few things you will look for when picking out a location. The first two are a clear sky and little to no light pollution. The more artificial light there is, the harder it will be for your camera to see what's in the night sky. You will also want to be facing the visible part of the Milky Way which is due south. Lastly, you want to go during "Milky Way Season" which is when it is most visible. It generally starts in February at the earliest and ends in October at the latest.
Camera Settings & Focus
Using the auto-focus feature on your lens will probably be a frustrating endeavor as the darkness inhibits your lens's ability to find something on which to focus.
To get the best results, set your camera to live view, zoom in 100%, and find the brightest light in the sky. Often, this will be the moon but you could also find a particularly bright star if the moon isn't visible. Turn the focus ring until you can see its details and turn off live view. After you get your focus locked in, you want to adjust other settings on your camera.
What you have your ISO set to is very important as you want a fast enough ISO to capture the night sky but not one so high that it will create a lot of digital noise in your photographs. Generally you will start at 1600 and make adjustments from there.
In addition, you want to shoot at the fastest aperture your lens allows, such as f/2.8 or lower. Shutter speed will be dependent on ISO and aperture but you want to shoot for somewhere between 10-25 seconds to prevent star trails.
Lastly, be sure you are shooting in RAW to allow you to make more adjustments in post-processing.
|
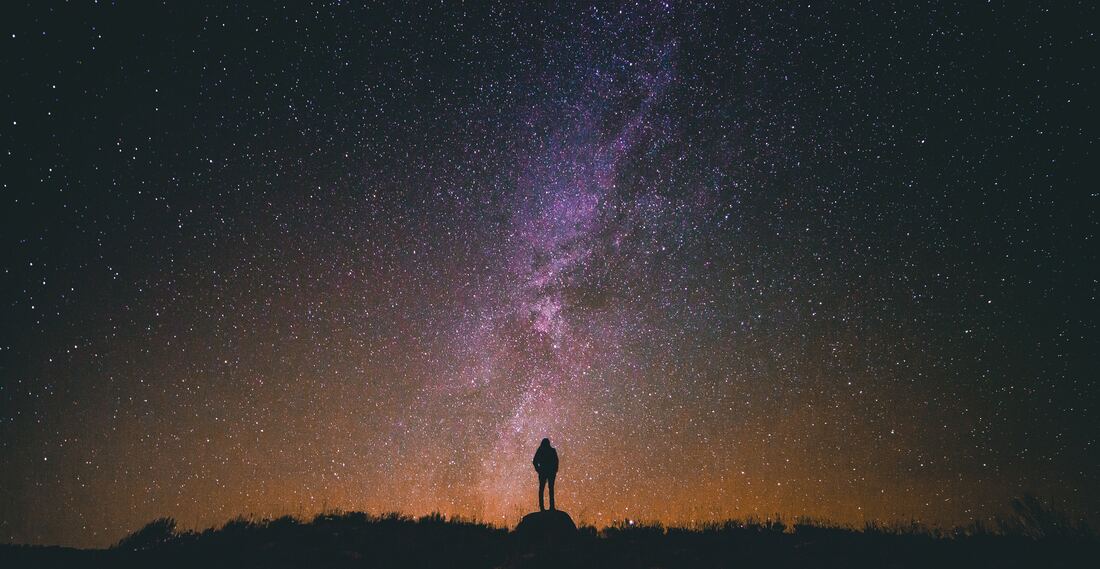
a few more tips for photographing the milky wayI'm going to end this post with a list of additional tips and tricks for getting the most enjoyment out of your night time photography adventures!
|